Themes for RetroX can be created from scratch, ported from Emulation Station or created by modifying existing RetroX themes. Currently RetroX themes are “inspired” on the layout of Emulation Station themes, but the engine has been built to allow new layouts in the future.
A theme for RetroX is made of three types of screens as follows
Splash Screen
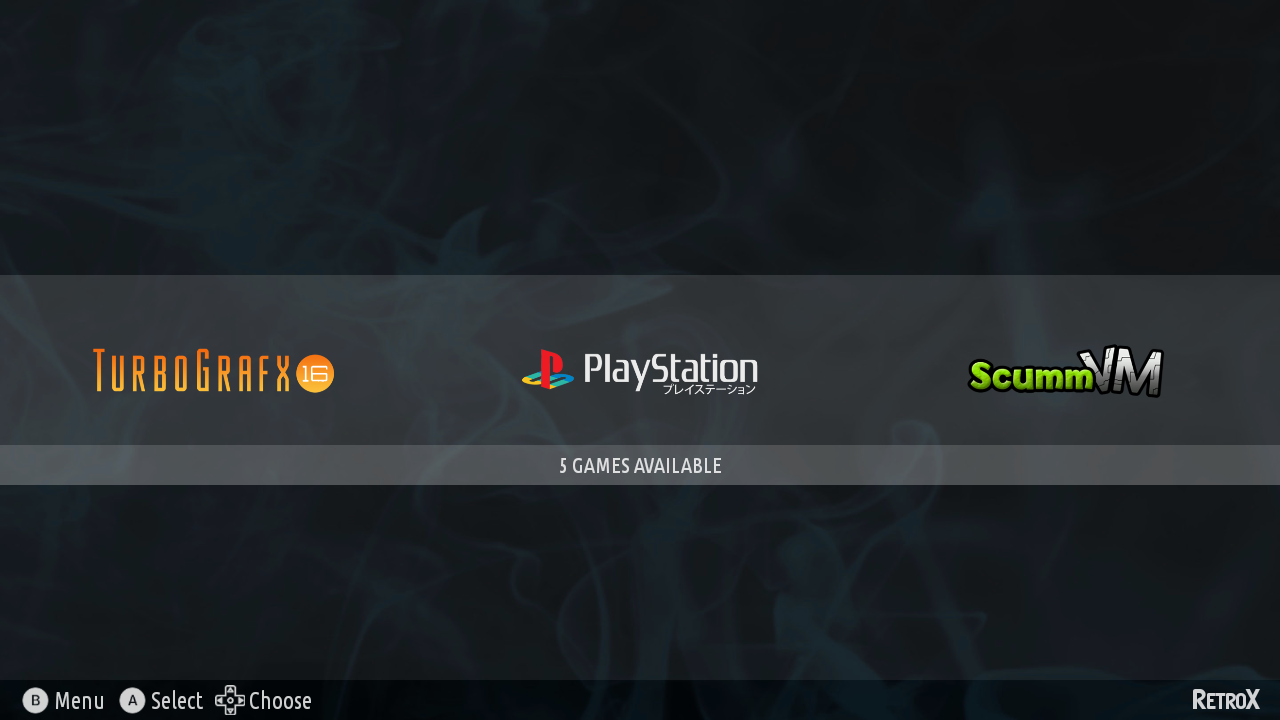
System selection screen
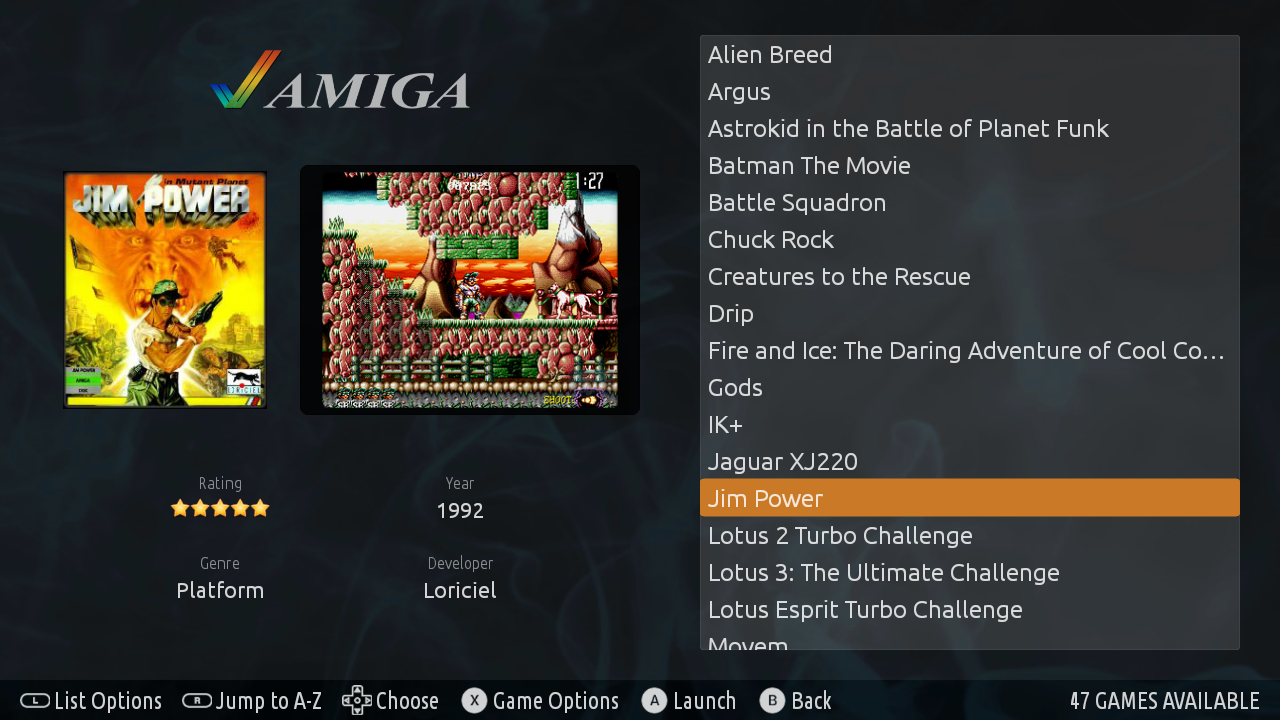
Game selection screen
The theme will define how each of those screens will look, things like background, icons, text and more. If you have experience with HTML you will find similar concepts like styles, elements and such.
With this guide you will learn to create or modify your own themes for RetroX. You will need the following:
- Basic knowledge of XML (tutorial)
- A text editor to modify the XML
- A File manager for Android to test your theme
- A bunch of images to make it look great
The easiest way to learn how write themes is to modify an existing one. For this tutorial we will use “Pure Dark” as a base, but you can use any other one available. You can find RetroX themes and resources here.
Download pure_dark.zip and uncompress it in your computer.
You will see that a RetroX theme is a collection of files like this:
- systems : A folder containing images for each system
- images : A folder containing images not tied to systems
- fonts: A folder containing fonts
- theme.xml : An XML file describing the theme
Systems folder
The systems folder contains artwork for each system, this is used in the system selector that is shown at start, and some resources are used in the game selection screen. For each folder you may find these files (jpg or png):
- background.png : background used in the system selector screen for this system
- icon.png : icon used in the system selector screen for this system and / or the game selection screen
- logo.png : additional logo that can be used in the game selection screen
In systems you will find a lot of folders with the name of each system and three additional folders: all, favorites, recent and recommended. Those will contain the background and icons that will be used in the system selector for those categories.
Images folder
This folder contains images that will be used regardless the selected system. Here you will find background, stars for rating and any image that you may want to put somewhere
Fonts folder
Here you can put your .TTF files to use them later in your themes.xml file. May be other file formats work but only .TTF files have been tested.
Theme.xml
Here is where all the magic is done. The file for plain dark starts with the global theme definition like this:
<theme version-format="1" size="720p" debug-images="false" name="Pure Dark" mode="dark">
- version-format is “1” for now. In the future it may change to support new theme definitions
- size is the target resolution for your theme. RetroX will automatically scale your theme to target other resolutions. For now we recommend you to stick to 720p
- debug-images can be changed to “true” to make RetroX show a red rectangle where your image goes, it helps to find sizing problems when making the layout.
- name is the name of your theme that will be shown in the RetroX Theme selection screen.
- mode is the global mode for your theme, it can be dark or light (default). This will define the colors used in the dialog screens, progress information and more. You can change any of those colors, but defining light or dark is a good start. Pure Dark and Pure Light are good examples of each mode
What follows are definitions for: fonts, text styles, colors and screens.
Fonts
You don’t need to define fonts, RetroX includes it’s own definitions, but as you will learn here, they can be overriden
Pure Dark has this font definition
<fonts>

    <font name="sans">opensans.ttf</font>

</fonts>
This will assign the name “sans” to the file found in fonts/opensans.ttf. Using this method will make it easy to change the fonts for each element without having to write the file name everywhere. Also RetroX comes with some predefined fonts: regular, bold, condensed and retrox. The first ones are variations of the Ubuntu font, and the “retrox” font is the one used in the RetroX logo.
As fonts are named, you can just assign a different font for an existing name like this:
<fonts>
<font name="regular">roboto.ttf</font>
<font name="sans">opensans.ttf</font>
</fonts>
That will make all elements using the regular font (Ubuntu) use your file “fonts/roboto.ttf” instead.
Text Styles
RetroX uses styles for all the elements: a title, a list element, the help at the bottom, etc. A style has a name and a definition of font name, font size and font color. This an extract from Pure Dark:
<styles>

    <style name="default">

        <font>sans</font>

        <size>22px</size>

        <color>text10</color>

    </style>

        <style name="selector-title">

        <font>regular</font>

        <size>21px</size>

       <color>#C0FFFFFF</color>

    </style>

...

    <style name="game-desc">

        <size>20px</size>

        <color>text_white_dim</color>

    </style>

</styles>
This code defines three styles: default, selector-title and game-desc. The font element uses the font name we described above (sans, regular), and as you can see, colors can be explicit like #C0FFFF or named like “text10” and “text_white_dim”. More on colors later.
RetroX has a lot of styles and colors predefined and you can add your ones or overwrite them. In this example, default is the text style used in many places, and it as overwritten with just one definition.
Colors
Again, color definitions are named as fonts and styles, let’s see what Pure Dark uses:
<colors>

    <color name="rx_system_selector_text">#C0FFFFFF</color>

</colors>
It has just one definition… because when we set “mode=dark” all the colors have been defined by RetroX, Pure Dark only changes the color used by by the text in the system selector.
Of course, we can override the defaults, for example we may change the color named text_white_dim with ours
<colors>

    <color name="text_white_dim">#C0FFFFFF</color>
    <color name="rx_system_selector_text">#C0FFFFFF</color>

</colors>
You can also make one color be the same than another color, like this:
<colors>

    <color name="highlight">#FFCA7A26</color>

    <color name="rx_progress_foreground">highlight</color>

    <color name="rx_button_background_focus">highlight</color>

    <color name="text_white_dim">#C0FFFFFF</color>

    <color name="rx_system_selector_text">#C0FFFFFF</color>

</colors>
This example, taken from the RetroX “dark” mode definition defines a highlight color than later is applied to other colors. Note that you don’t need to know the name of the colors, just use the defaults and only if needed, check the RetroX internal theme definition to look for the name of the color that you want to change.
(In construction…)
(It is supposed that this page is not published yet)
Some recommendations:
Try to use images not bigger than the size required, memory in Android is a scarce resource for apps and you don’t want to fill it up with big images. Try to use images with the size targeted to your theme resolution.
Try little changes when learning. A bad theme will be discarded by RetroX, if you made many changes you will not know which change broke your theme.